How to make your own basic mud kitchen
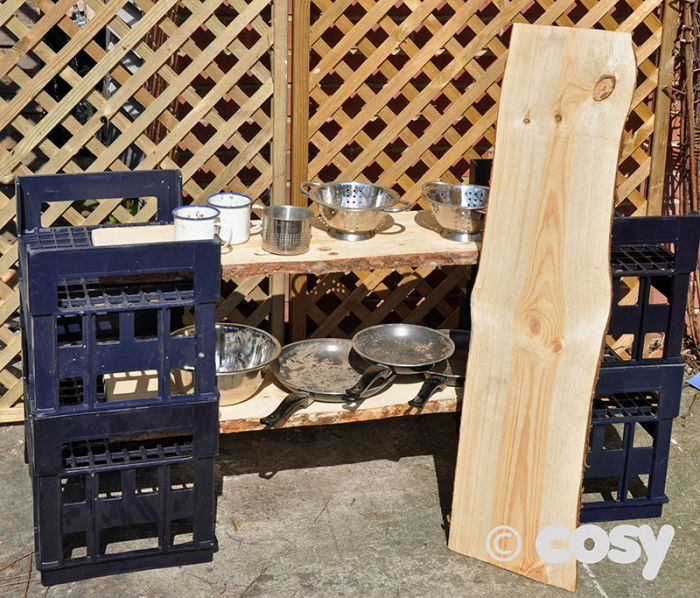
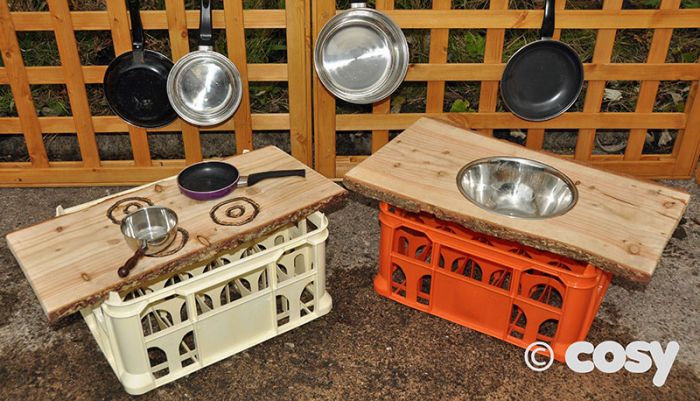
From mixing and pouring, to measuring and baking, inspire children to get creative with a mud kitchen. Mud Kitchens are expensive, but with a bit of imagination you can create your own using old wooden pallets, plastic milk crates or wooden fruit crates with a wooden plank for a top or an old wooden table. Children will love creating, mixing, and storing their magical concoctions at an outdoor mud kitchen.
This is a project that we have had on hold for a few years now and as we have Dad at home with us full time (working, so he says!) we felt it was the perfect opportunity for Dad to spend some time with the boys, designing and building and learning to use tools!
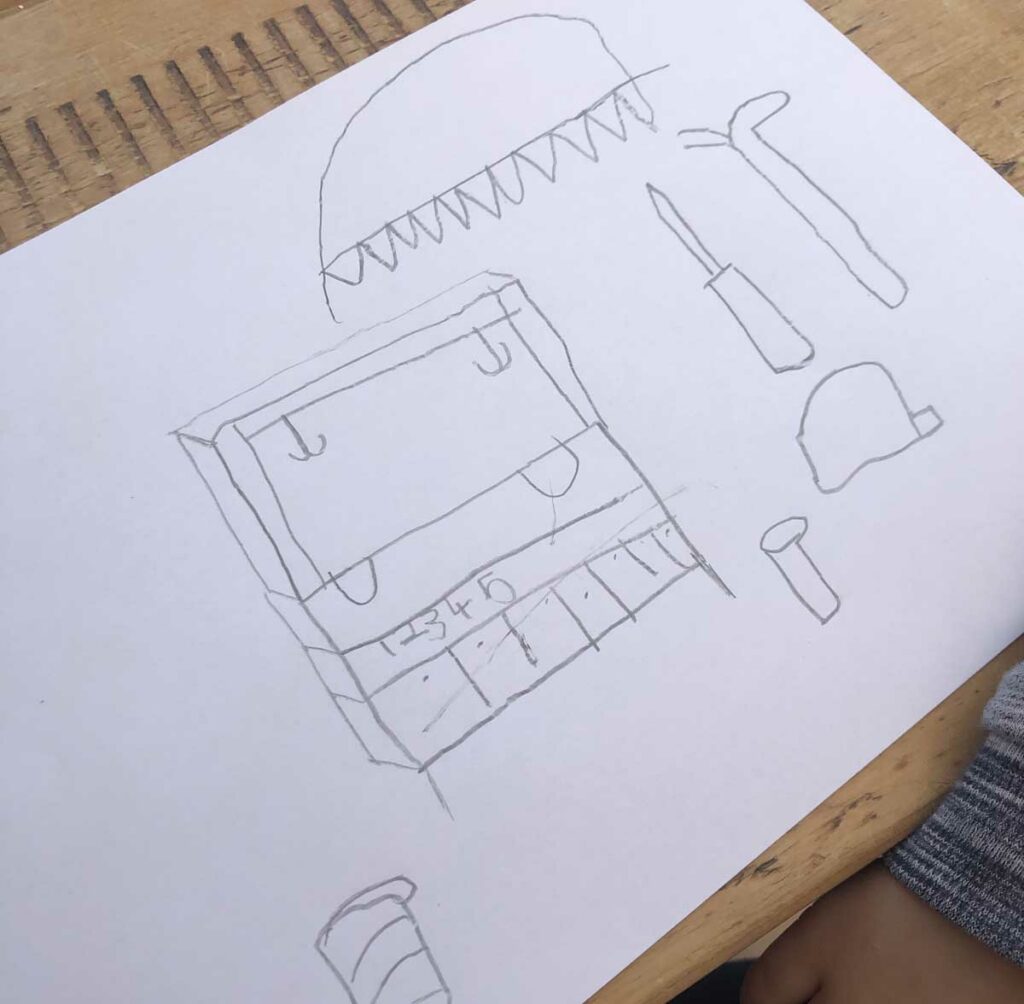
It actually only took a couple of afternoons, Dad is not the handiest of men! So what we are saying is, anyone can do this…really! We had already acquired two pallets for free from a local hardware store, we just needed some imagination and determination! The children drew their plans of how they wanted it to look. We also searched for some ideas on Pinterest – which is super inspiring! Just remember, it does not have to be complicated.
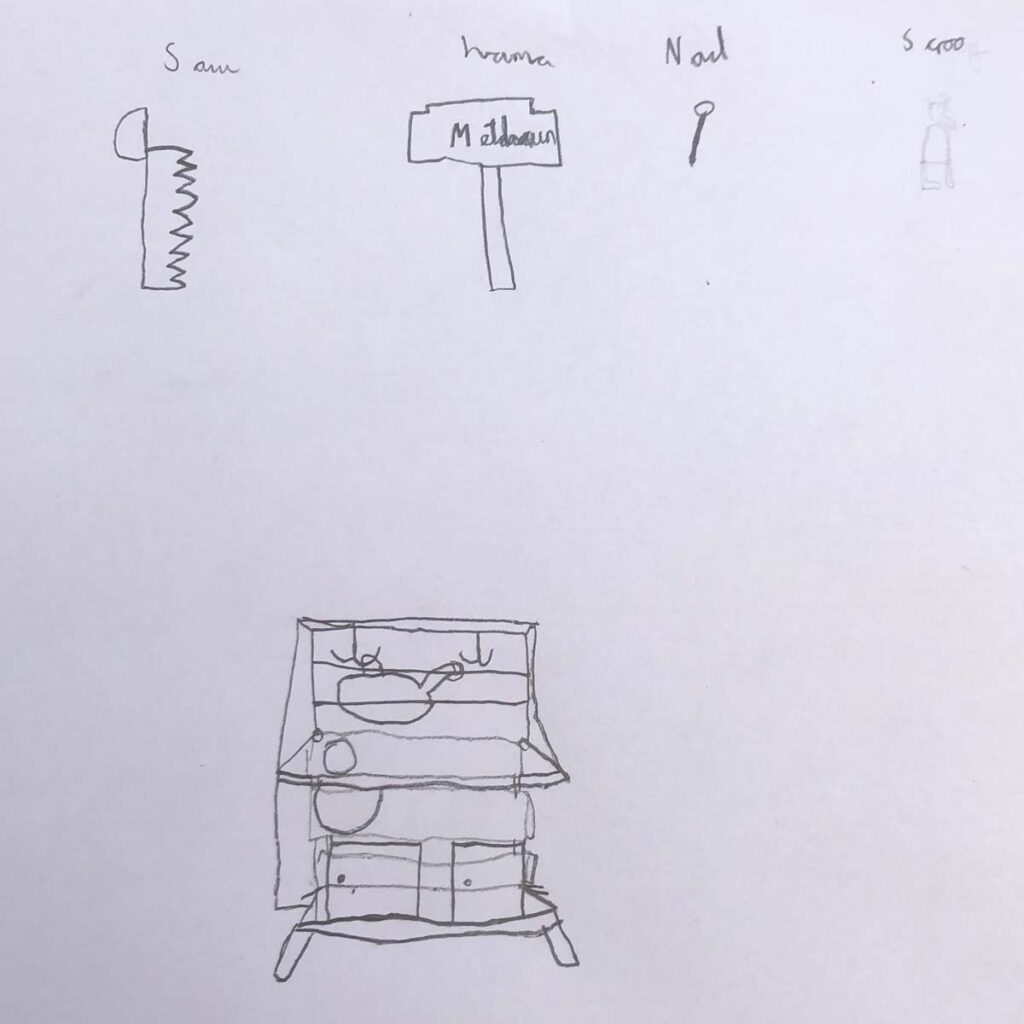
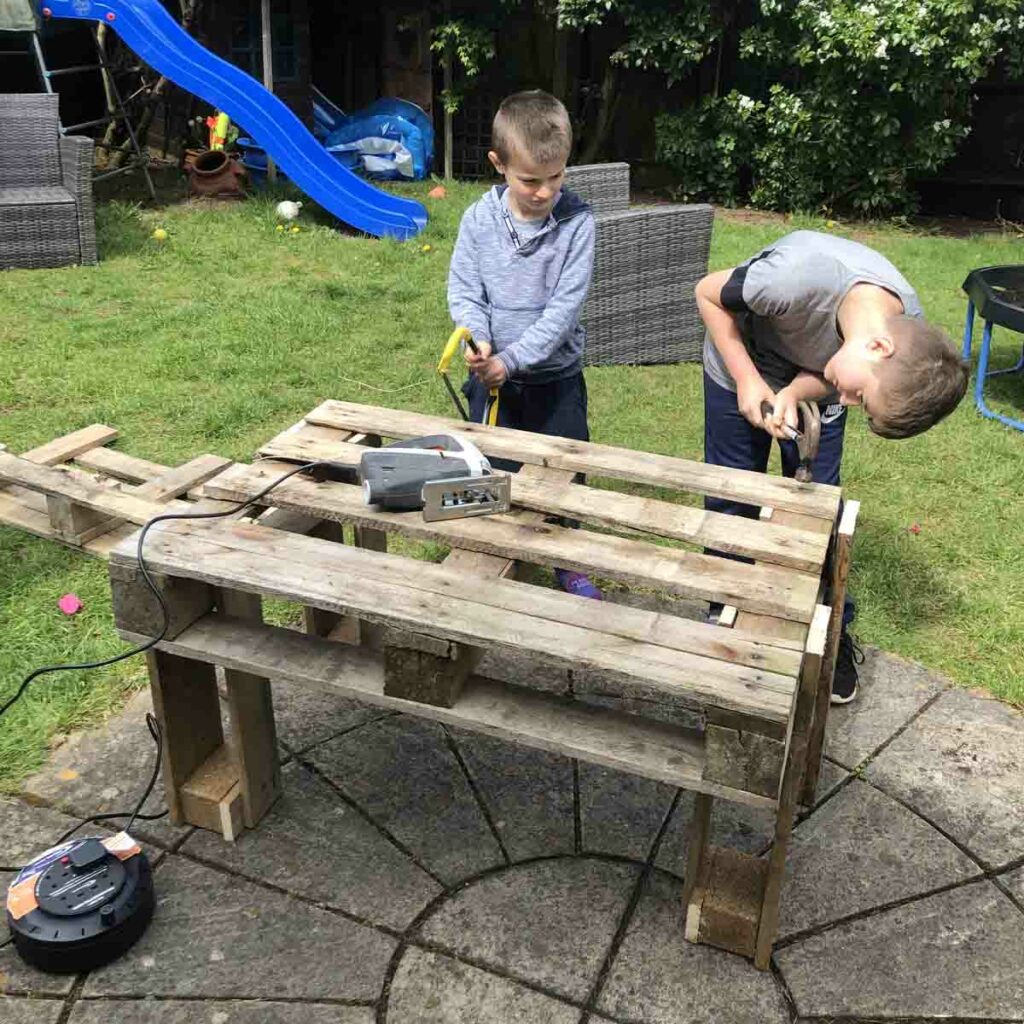
We used a hand saw and an electric saw but you could just use a hand saw if that is all you have – it just involves a bit more elbow grease! We had a hammer and long nails, some brackets and some sand paper or an electric sander.
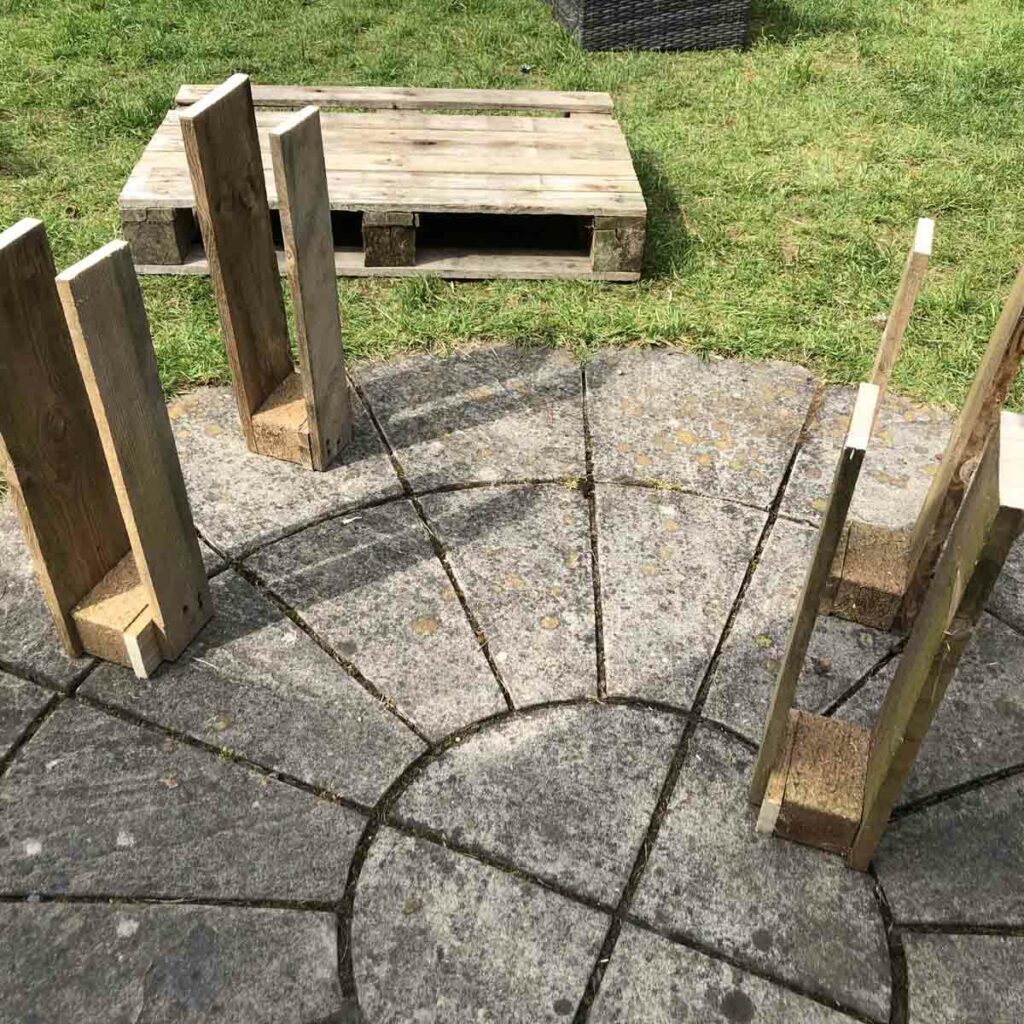
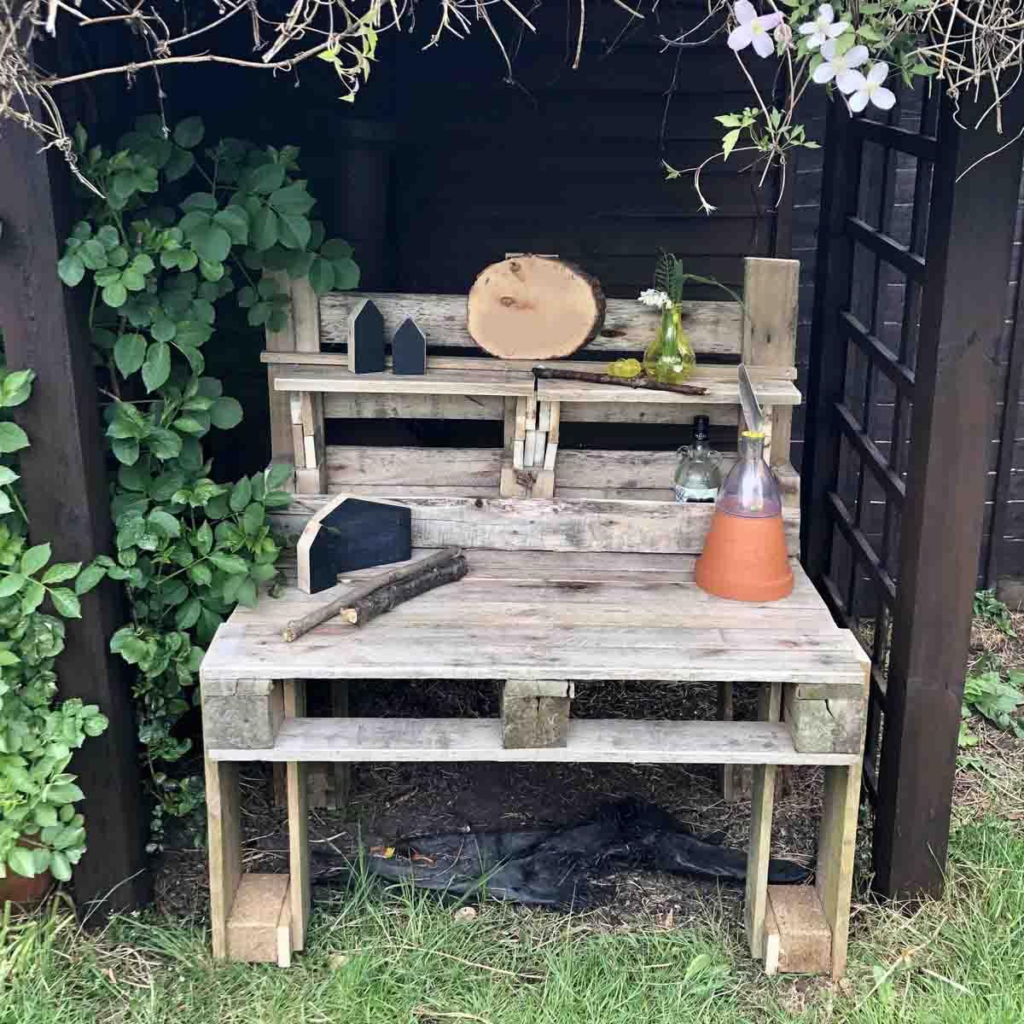
Basically, we needed 6 parts - a kitchen top, 4 legs and a back for the shelves. We managed to use most of the two pallets for the pieces that we needed including the planks of wood that we needed to fill in the gaps in the kitchen top and some pieces for shelves. First, they got to work sawing the pieces needed for assembly.
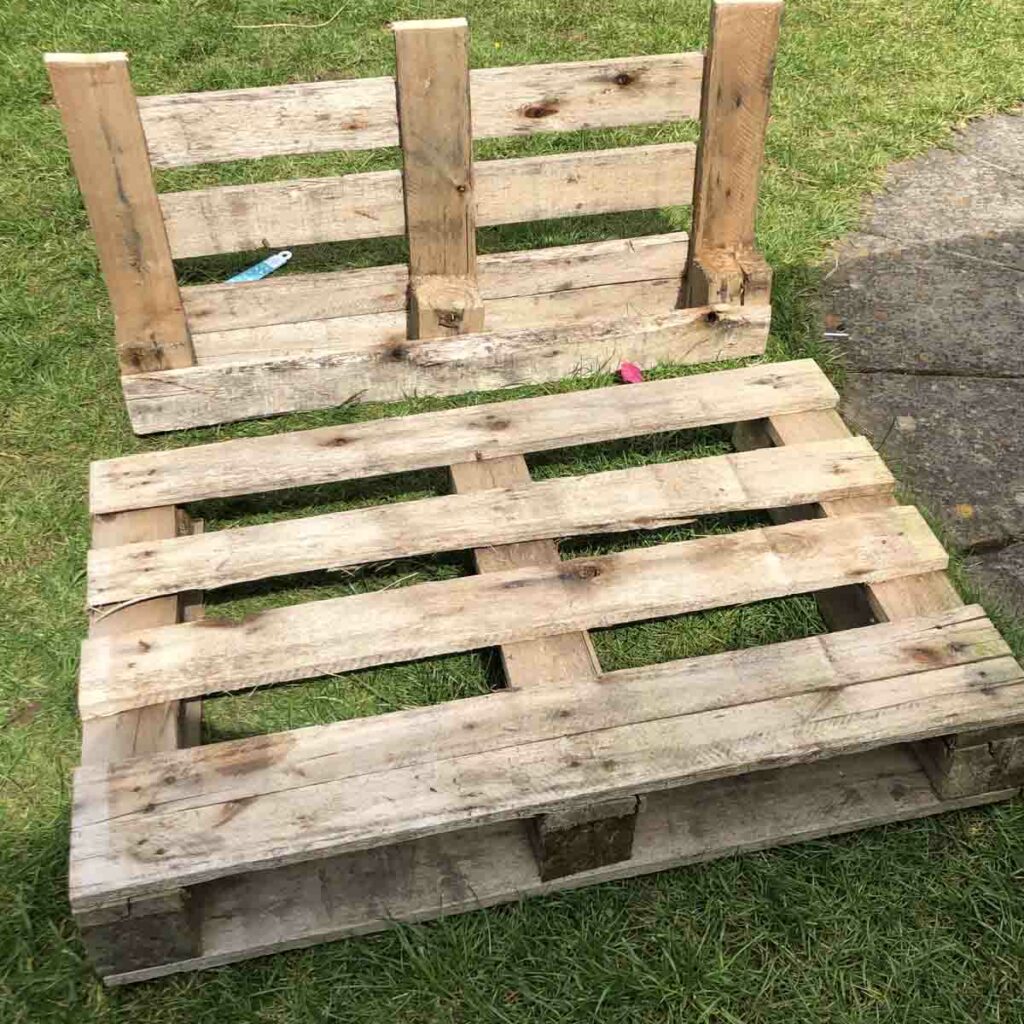
The pieces were then nailed together with long nails. This took no time at all, using additional brackets to hold the back piece in place. Shelves were added to the back and planks were nailed into place to fill the gaps in the kitchen table top.

They then all got to work sanding all the rough edges and corners. This was the hardest part and really took some doing!! The whole thing can then be treated with some wood stain to protect it from the elements. We love the rustic mud kitchen look so didn’t go to town painting ours.

It is then ready to be accessorised and played with! We added a sign to ours too.
Accessories we love:
- potion bottles
- old jam jars and assorted bottles
- measuring jugs
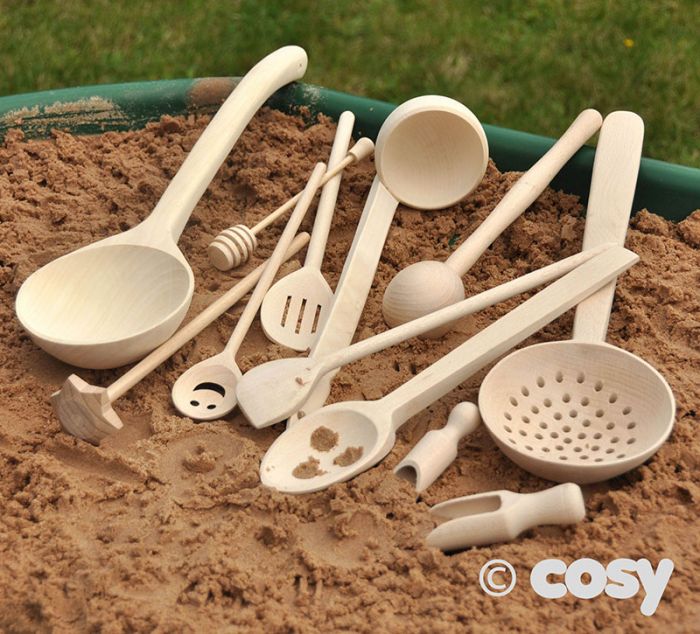
- wooden spoons and sticks for stirring
- pans
- a pestle and mortar
- sieves
- mashers
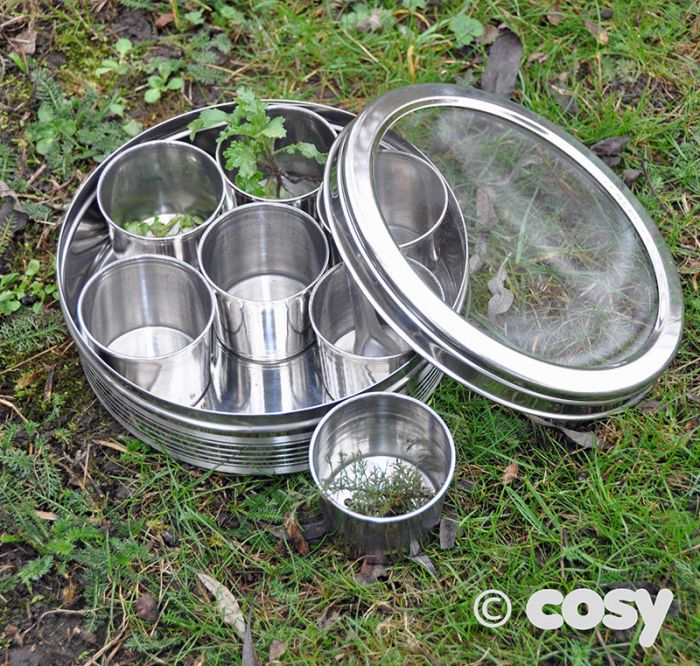
- bowls
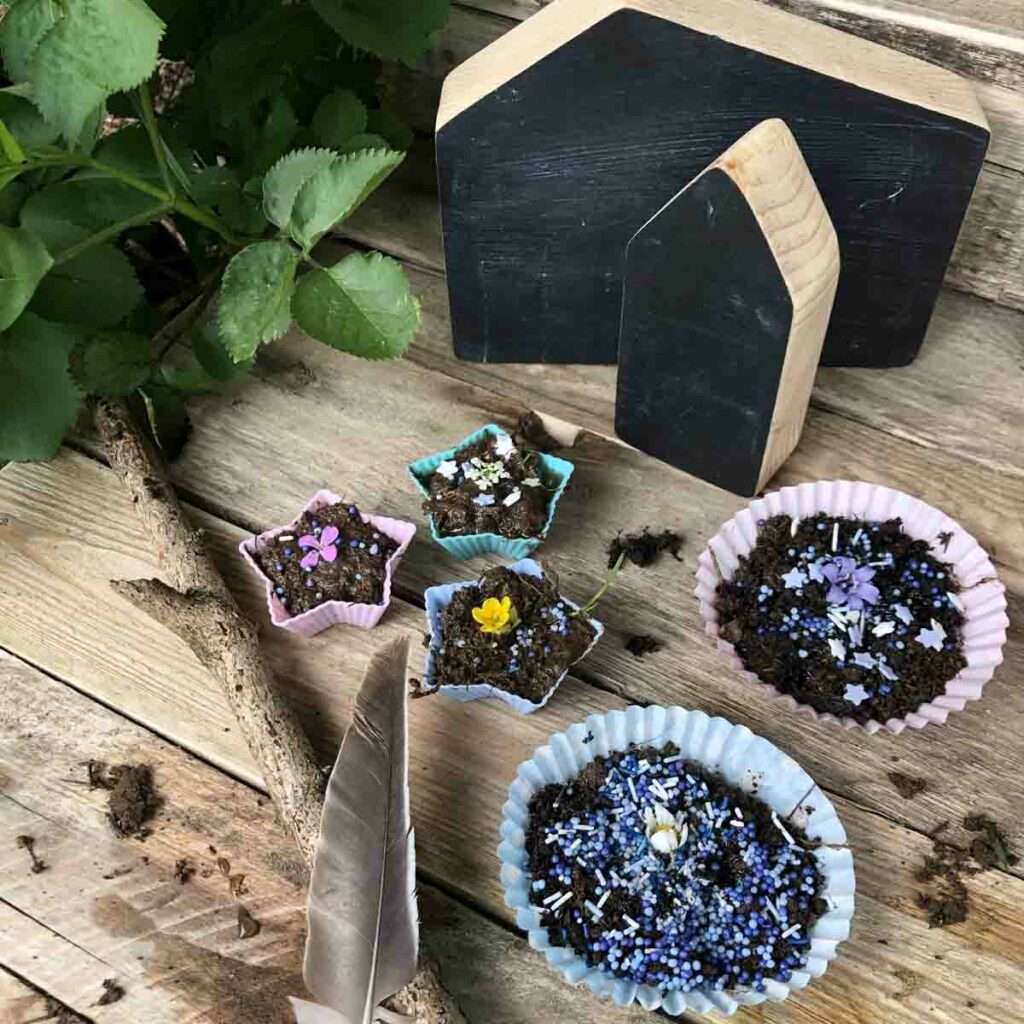
- cupcake cases
- Baking trays and bun trays
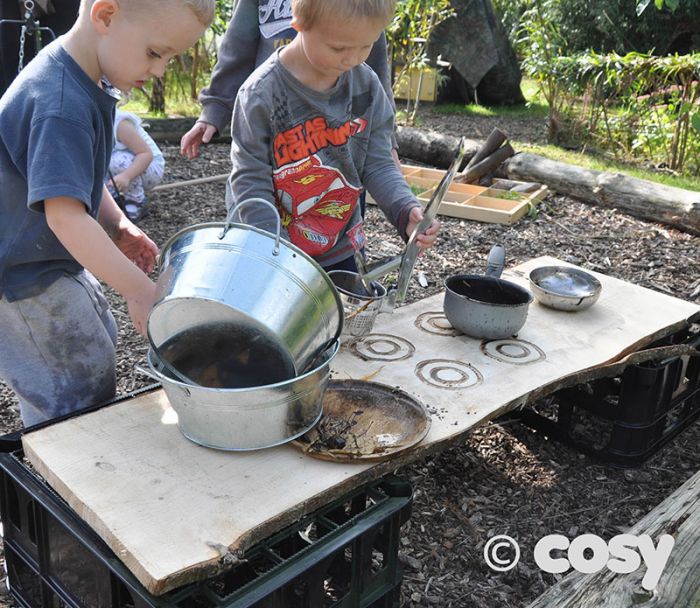
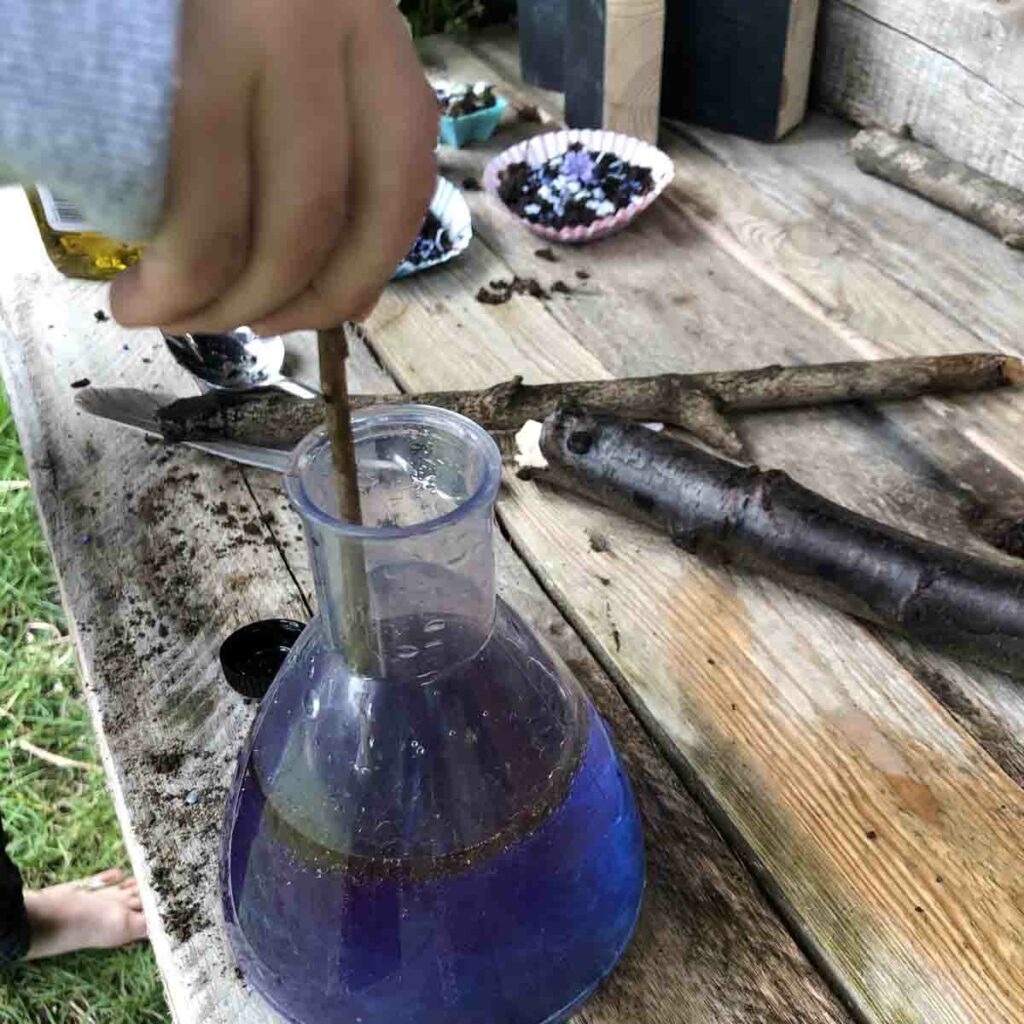
Dylan was so excited that he got straight to work making mud pies and mud buns adding flowers and hundreds and thousands on top, he then made a potion using water, food colouring, oil and biodegradable glitter which created a great effect! He mixed it all up with a stick.
We went on a walk to collect lots of beautiful items for a collection. We collected everything in the compartments of an egg box, sorting as we went. Once home, we identified each item, and where we couldn’t identify what it was we looked it up in a book or on the internet. We used the pretty flowers in our potions and on our mud cakes.

We even saved some for pressing to make pictures to post to Grandma later.

The possibilities for activities are endless with a mud kitchen, we want to make exploding potions next and experiment with leaf and bark rubbings.

Check out our 16 activities that you can do with your mud kitchen coming soon.
With thanks to The Cosy Creatives for this blog post.