Simple Storage Solutions for the New Academic Year
The way that we organise, present and store learning resources, can really make a difference in children’s independence and learning. Thinking carefully about how we present and organise our resources can create opportunities for children to develop their concepts of shape, size, space, number, sorting and literacy skills. When organising your provision, the old adage of, ‘Everything in its place and a place for everything' couldn’t be truer.

The first thing to consider when setting up and organising a learning space is whether children are able to access everything easily. Everything should be at their height and easy for them to see, select and also put away by themselves. Think about your space from a child’s point of view, what they can see and what it would be like to be a child in that space. Also, look around and see if there is anything that you do not want children to access. If so, then move it away and out of reach completely.

When organising where to place particular items and areas of your setting, think about which resources and areas go well together, or not as the case may be. An area where children can create using ‘junk’ materials works well when adjacent to a painting area and resources that can be used for mark making too. Having clearly defined areas for particular resources enables children to access what they need, but at the same time, it’s important to allow children to use them in open-ended ways. Often, they have very different ideas and may use things in creative ways that we hadn’t imagined.
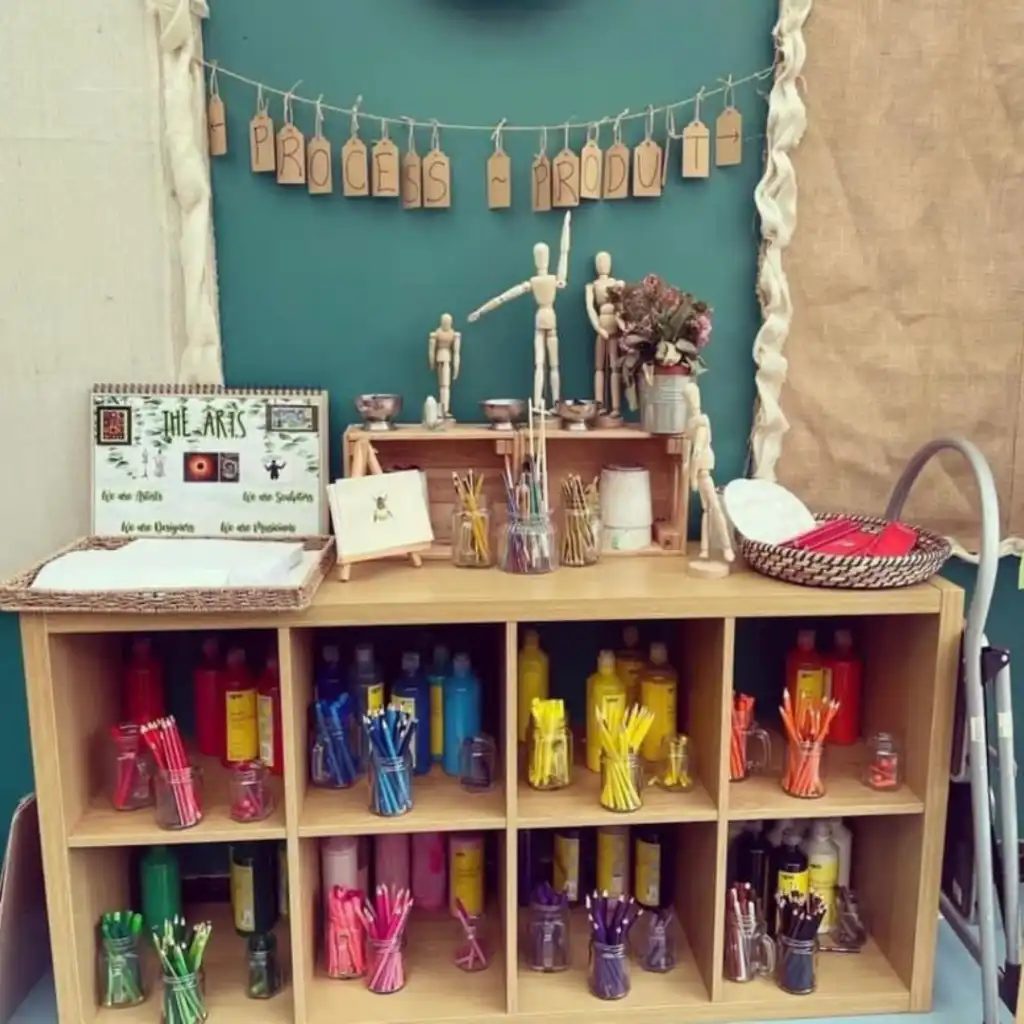
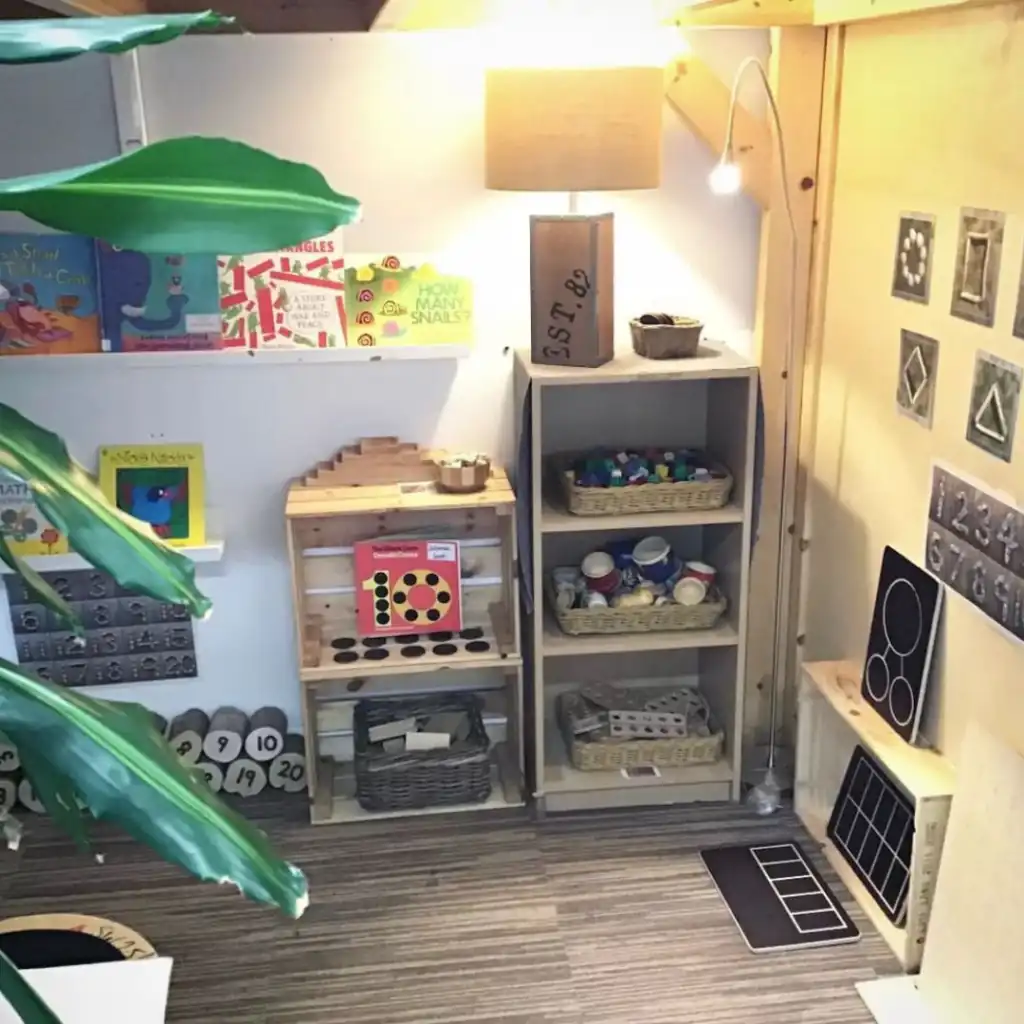
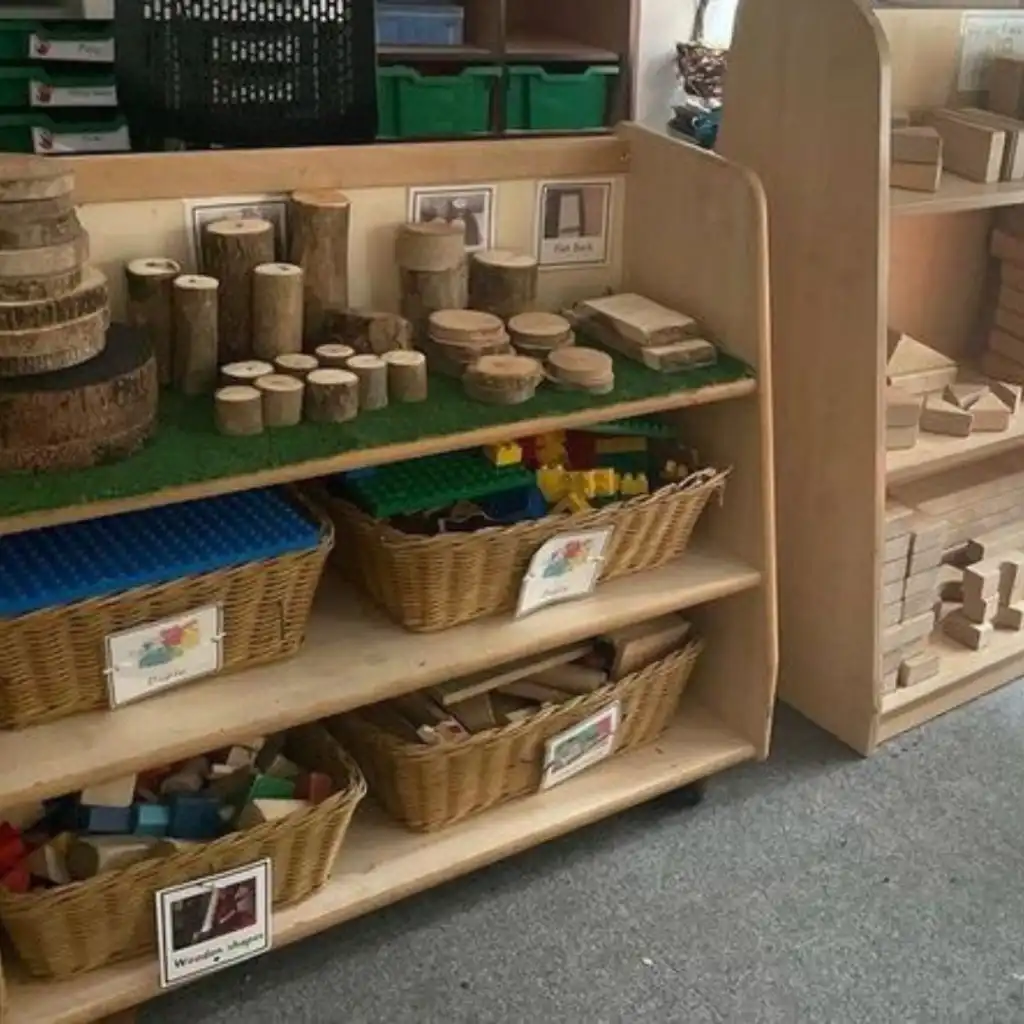
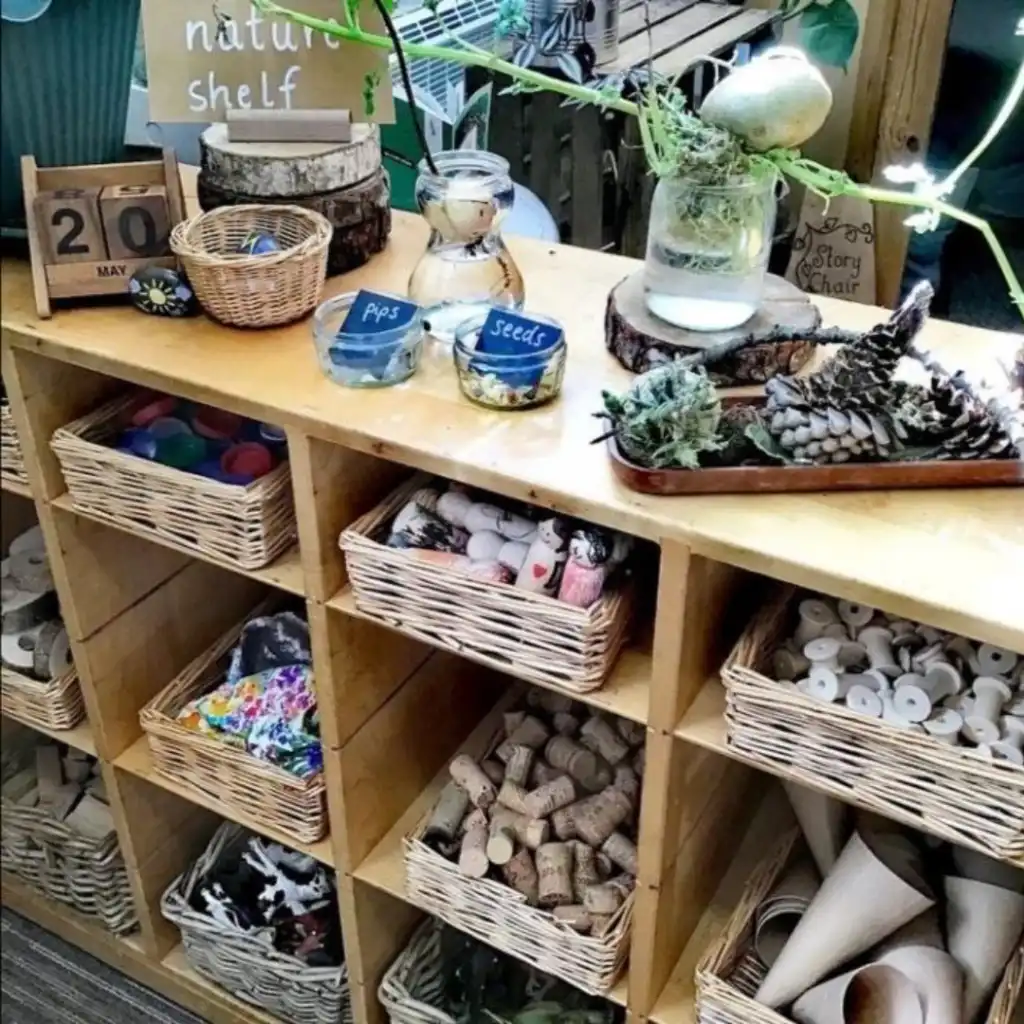
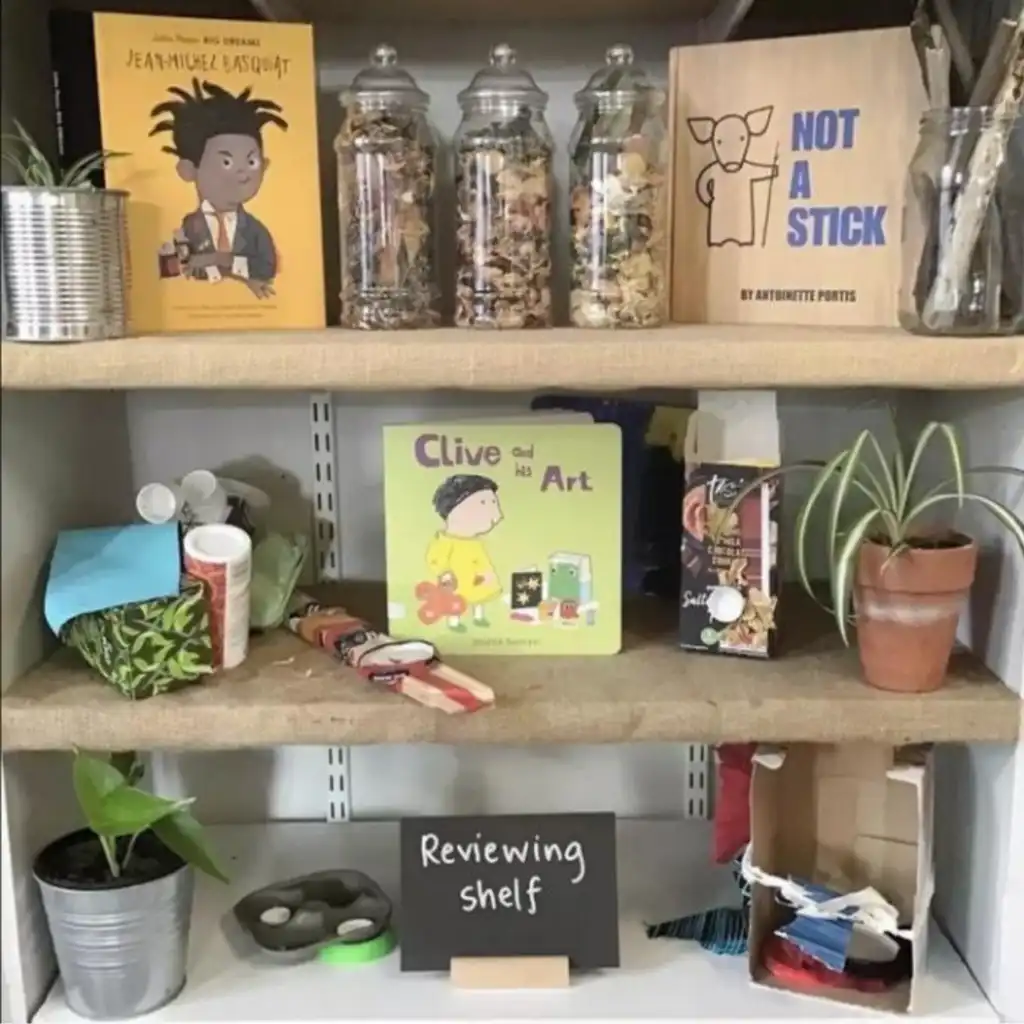
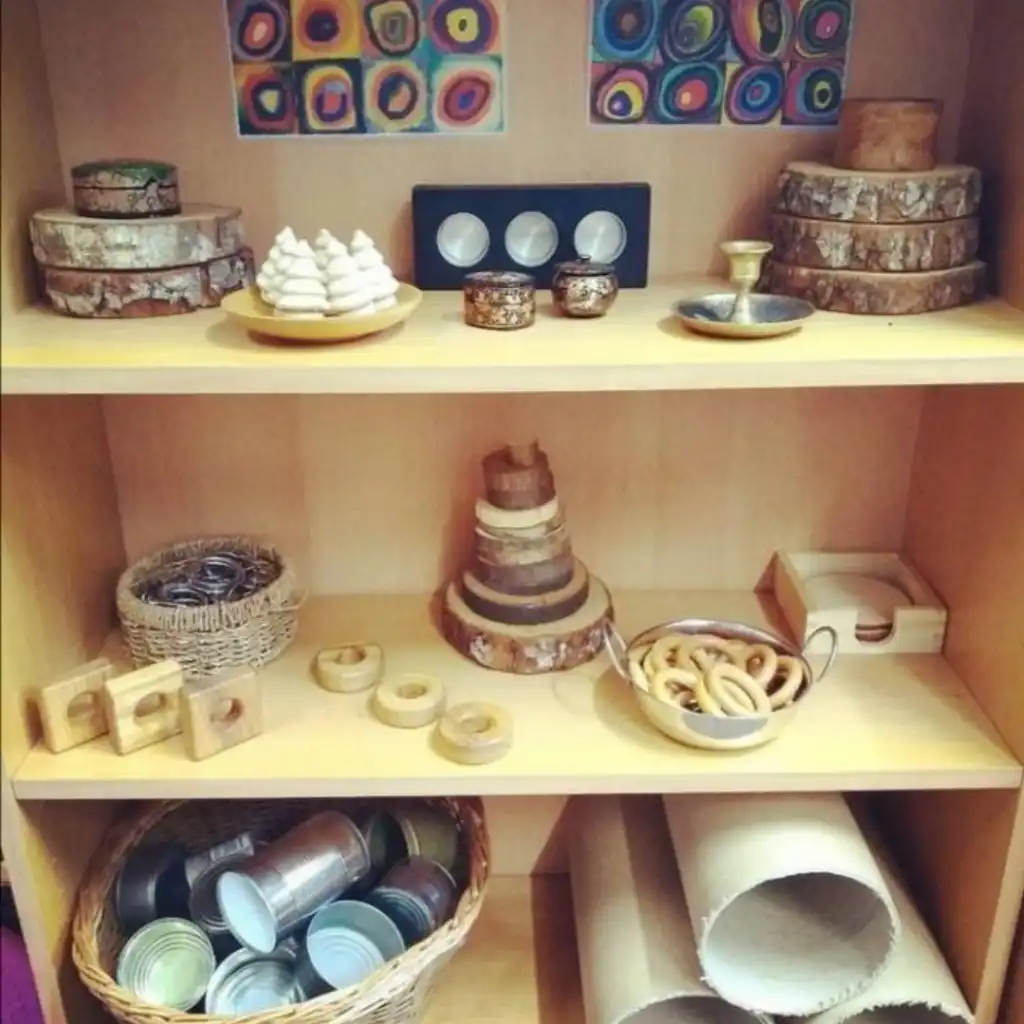
The next step is to organise and display resources in a way that makes them easy to access and also to put away. There are lots of ways to do this and here are some ideas. The first thing is to take stock of what you already have and organise both your resources and the containers and storage that you have. If you have shelves, you don’t necessarily have to also use containers or baskets as well. Larger items can be presented as they are on a shelf, such as large toy animals in a small-world area. Try to group containers or baskets of the same type together. It looks more organised and also it makes it easier at tidy up time too.
Another useful adage to remember, is ‘Less is more’ when it comes to how many of each resource to put out on display and at children’s level. This is particularly useful at the beginning of the year when you are setting up routines and the children are getting to know where everything belongs. Think carefully about how many children on average would be accessing a particular area, and just provide enough for that many and a few more.
Being quite particular with numbers of resources also, can provide wonderful learning opportunities. In your home corner, you might like to provide a particular number of each type of cutlery. Children will then have to make sure that they have this many when they tidy up and if any are missing, then that’s a great maths activity to say how many we have, how many we need and how many altogether. Don’t overfill baskets or containers so that when it is time to tidy up, everything fits neatly into each space and you don’t end up with extra things that you can’t find a space for.
So now that you have thought about where everything will go and how much of each thing, the next stage is to organise resources into some type of container. There are many ways to store and contain resources using recycled resources that you may already have.
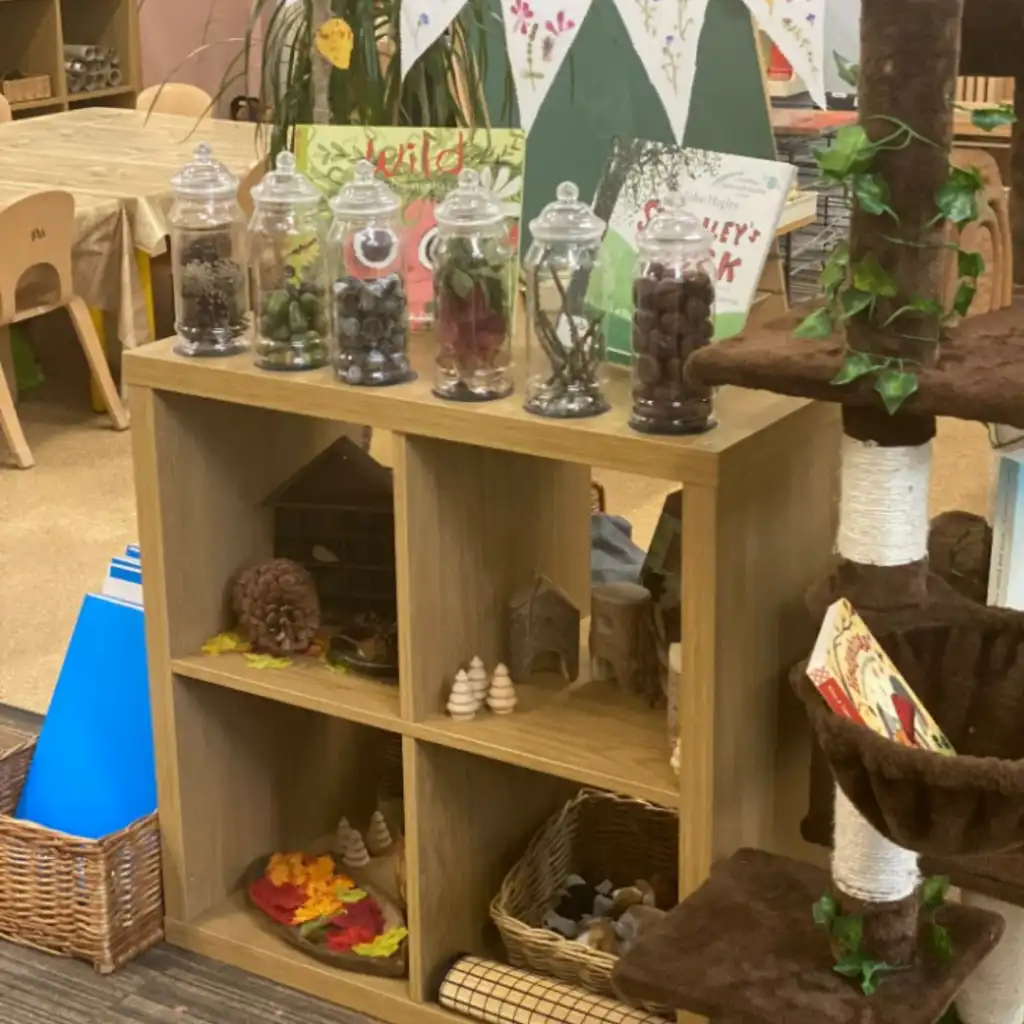
The first step is to save anything you have at home that could potentially be used to store resources! Save your tins, jars, sturdy cardboard boxes and ramekins. Peel the labels off tins and soak jars to remove labels. These are great for storing mark-making and painting resources. Don’t be afraid to use glass jars in your setting. Take time to talk to children about how to use these safely and you will find that they will respect these, knowing that they could break if dropped. Jars are lovely to use for painting as children can easily see the colour of the paints they are using. There are some desserts that you can buy that come in a perfectly shaped jar or ramekin for storing small resources or paint. A great excuse to treat yourself, so that you have some great storage resources to use afterwards!
Large tins are wonderful for storing many different types of resources. If you have a kitchen as part of your setting, ask them to keep their large tins for you. As with all tins, make sure you flatten down the sharp edging. This can be easily done using a pair of pliers. Large tins are great to use both inside and outdoors. You could also hammer a nail through a tin to create a hole and hang the tin on a hook or even just nail it straight onto a wall at children’s height to display resources.
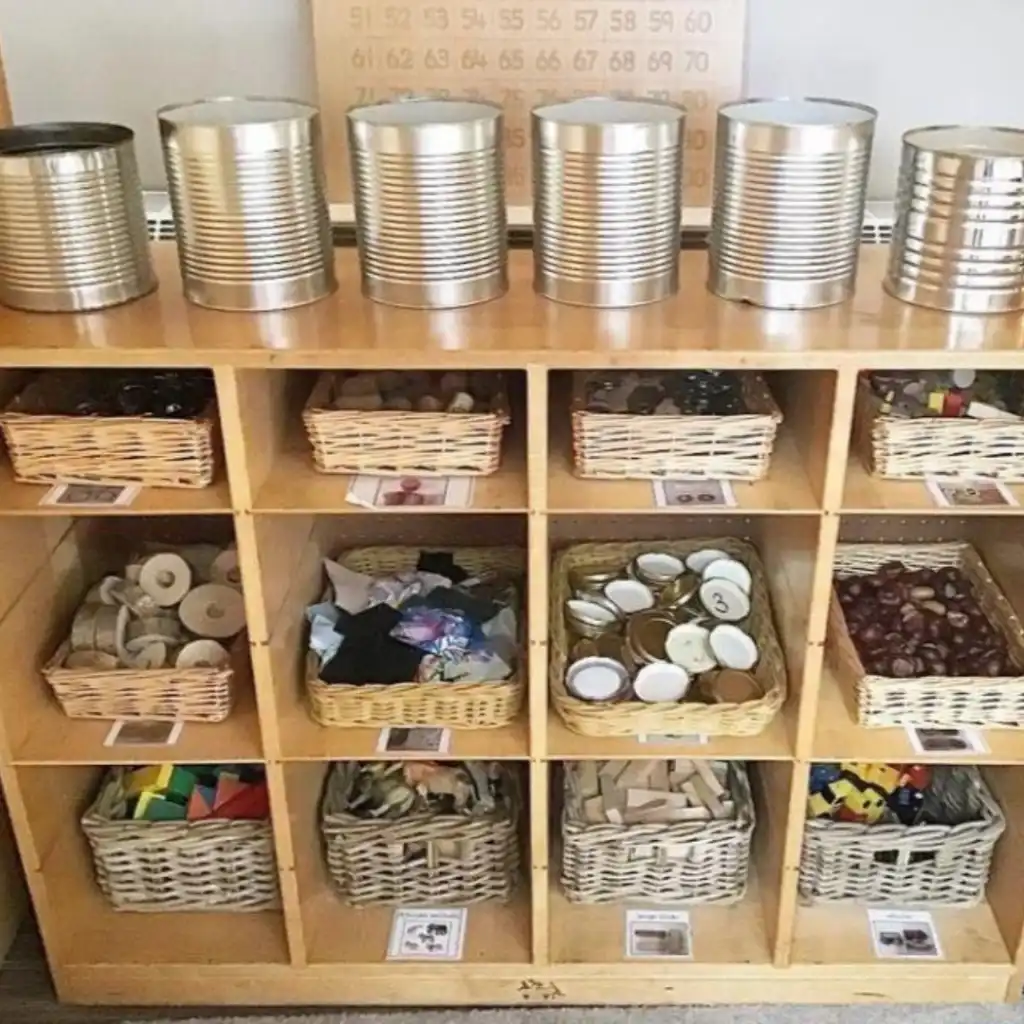
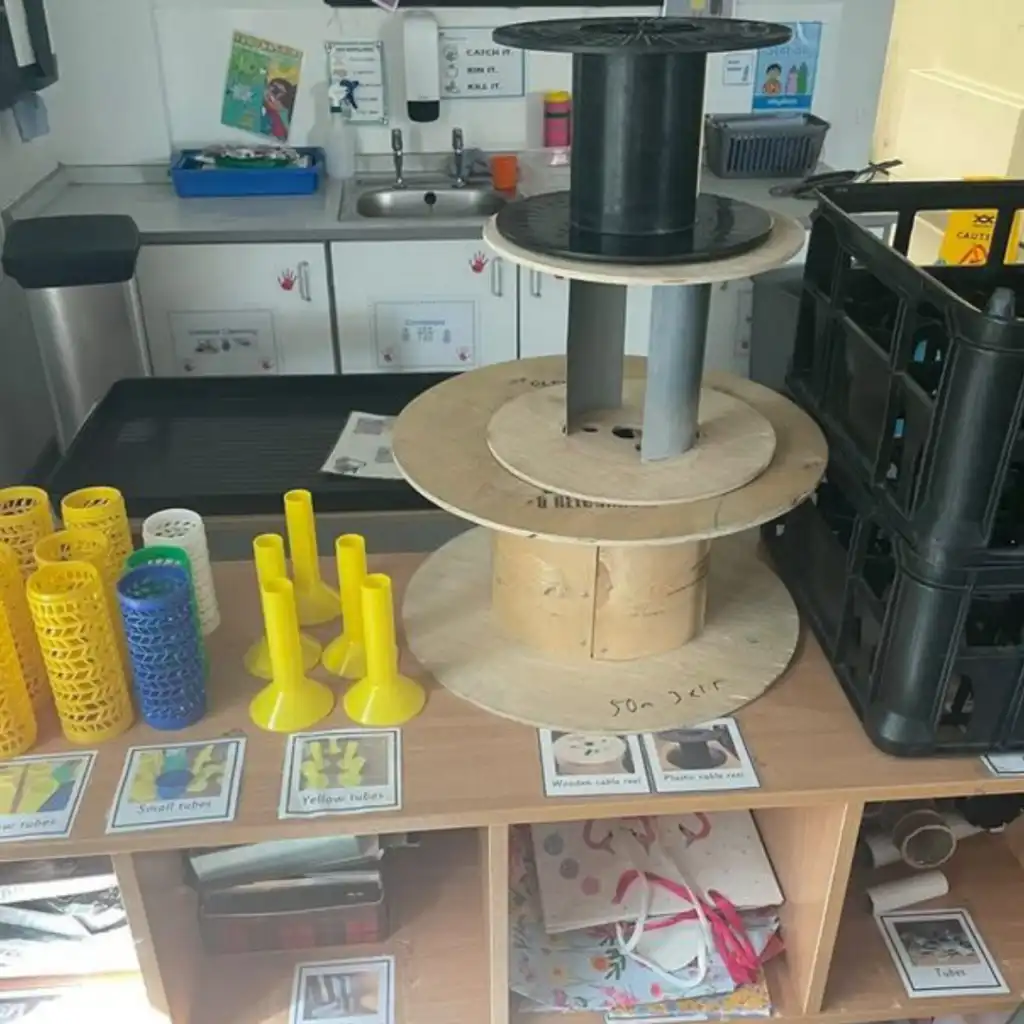
Baskets look inviting and allow children to take them off a shelf and then put them back again by themselves so that they can transport things to different areas of your setting. Before going out to buy them new, ask around. Parents may have some they no longer want and also ask your family and friends. Wooden trays are a lovely way to display items too, particularly as ‘tinker trays’ with a selection of loose parts and small resources. Charity shops and car boot sales are great places to find baskets and trays on a budget.

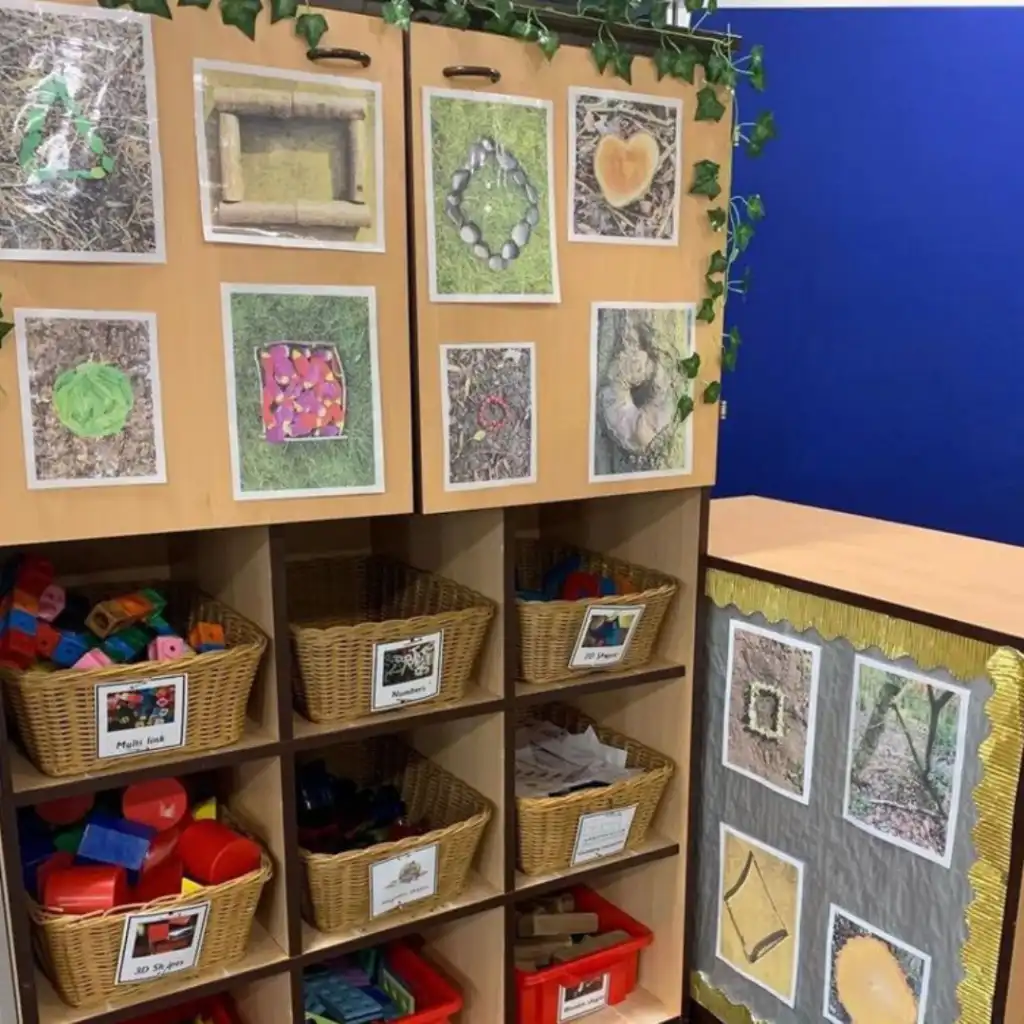
To enable children to be really independent in accessing and also putting things back, labelling helps to make it clear where everything belongs. Small labels with both a clear photo and text can be printed and attached in different ways. Laminate labels and then punch holes and use string to tie labels onto baskets. Sticky back plastic is great for sticking labels onto tins and shelves. You could even print each label twice and have one on a basket or tin and another in the place where it belongs on a shelf. Another lovely way to label resources is to get more confident writers to help create labels themselves. Children’s own writing on display helps them to have a real sense of ownership of their learning space.
Another way to label is to create ‘shadows’ which are cut-out shapes that are the same size as the object that belongs in that place. This works well for storing blocks. Trace the shape of the blocks in dark coloured paper and use sticky back plastic to stick these on the shelf for each shaped block. This turns to tidy up time into a maths activity too.
Finally, consider the use of colours when setting up your areas and storage. Classrooms and early years settings are busy places with lots of things to look at and capture attention. Many resources can be very colourful so think about using neutral baskets, wooden trays and neutral tins and jars to store your learning resources. This will reduce the visual ‘clutter’ and help children also to really see the resources and not become overwhelmed by colour in every possible area. Keep a look out and ask your friends and family to keep anything that they may not need anymore. It can take a while to build up a collection of baskets, tins, trays etc. Setting up a learning environment takes time and sometimes it isn’t until the children begin to use what you have set up, that you begin to see what works and what doesn’t.
Don't forget to tag us in your storage solutions on our social media channels.
With thanks to Juliana Nkoana for this blog post
Facebook: https://www.facebook.com/cosydirect/
Twitter: https://twitter.com/cosydirect
Instagram: https://www.instagram.com/cosydirect/